CRAS classes fill up fast—don’t miss your shot to go pro in just 11 months.

“MAGIX is honored and excited to partner with CRAS. We’re continually impressed with their high quality of curriculum, facilities, and instruction. CRAS is clearly committed to giving students a well-rounded audio education, and we’re happy to play a part in enhancing that learning experience.”
“CRAS gives students a unique experience emphasizing practical and hands-on learning that teaches students to both listen and think critically about audio and production.”
“We are glad to have CRAS as part of our educational alliance team. On behalf of everyone at Avid, I want to congratulate CRAS and acknowledge your long- term dedication to educating students on the Pro Tools platform.”
“McDSP is pleased to be a part of the offerings at the Conservatory of Recording Arts & Sciences.”
“Focusrite Pro is honored to have the relationship we do with CRAS. In an ever-changing world of audio technology, CRAS students are engaged and excited to learn as much as they can. It’s a comfort to the future of audio knowing these students will soon be in the field, and no doubt future thought leaders of the industry.”
“MOTU is thrilled to partner with CRAS to bring the very latest recording studio technology to the audio engineering and music production trend-setters of tomorrow’s music industry.”
“CRAS has been an excellent partner with Telefunken Elektroakustik in building aspiring young engineers. By providing the kinds of tools and experience that allow their students to be confident and succeed in the real world, CRAS sets the standard for those that want to excel in todays industry.”
“We are extremely proud to partner with industry-leading educators, CRAS where innovation and creativity go hand-in-hand.”
“What you teach, that learning how to use quality tube gear, real consoles and beautiful tape machines to produce records, is more important every day.”
“In the ever-growing competitiveness of the audio and production industries, CRAS stands out as an example of the kind of institution the SLATE companies prefer to be associated with. As evidenced by the caliber of graduates in the field, the faculty at CRAS do a wonderful job of honoring and enlisting the technology of the past in order to inform students of the techniques and tools of the present.”
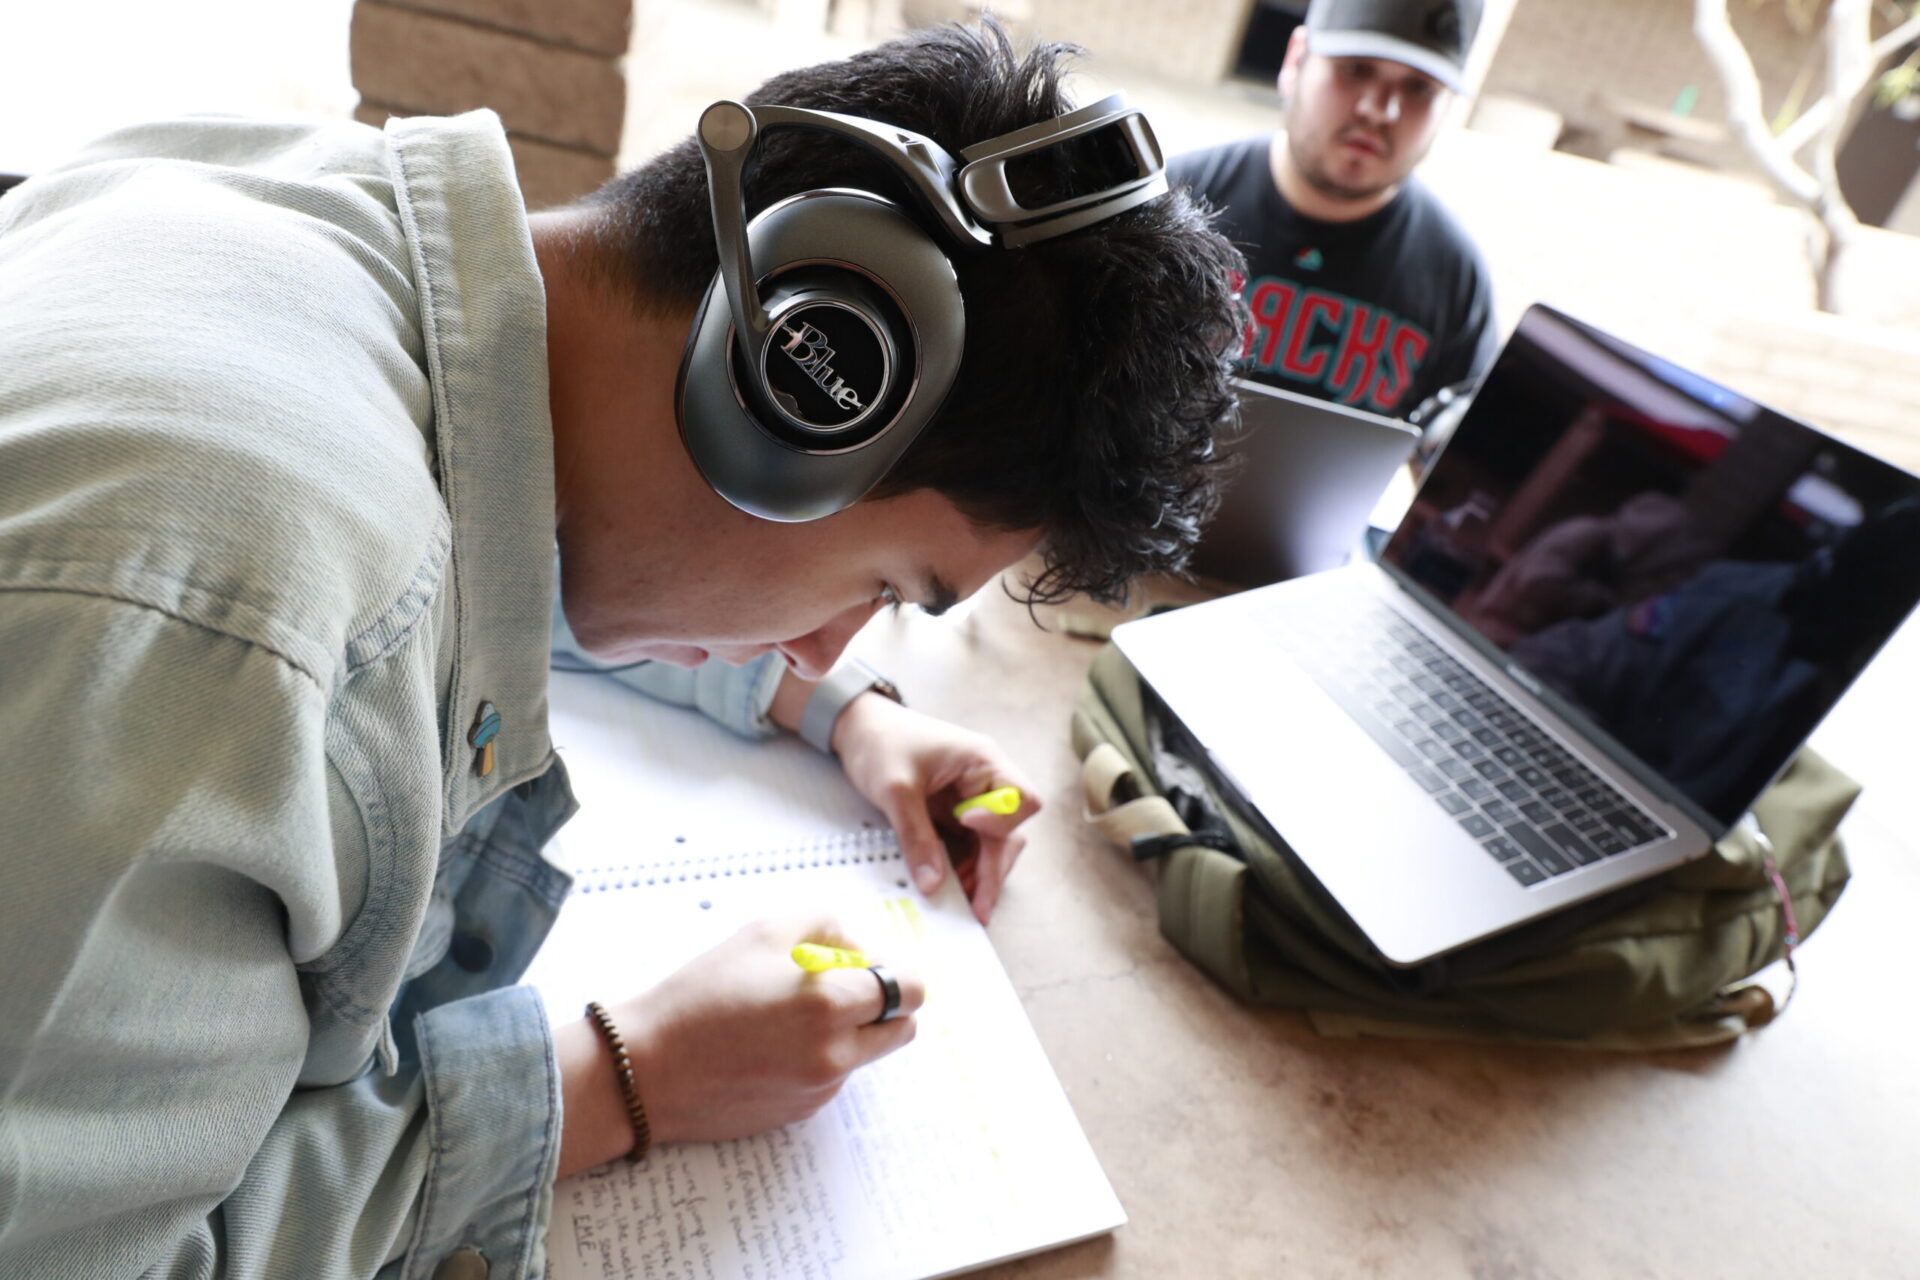
“Blue is thrilled to be a part of the unique hands-on studio experience the CRAS program provides. Because of how they’ve benefited from smaller class sizes and individual attention from incredible instructors, when hiring, we’ve consistently seen that CRAS alumni are leaps and bounds above other candidates.”

“CRAS is an amazing school preparing their students to accomplish their dreams. ReMasterMedia is proud to be a CRAS partner as well as integral part of their students journey in audio production.”
“An excellent introduction to a wide variety of audio careers in a comprehensive and succinct program.”
“I have had the opportunity to lecture at CRAS a number of times and never cease to be impressed by both the staff and students. It’s a highly technical environment and the facilities are chock full of wonderful, state-of-the-art gear, sure, but the thing that impresses me most is the “family” feel among the staff and students and the level of technical chops and professionalism among the staff. In my book, the über-experienced CRAS staff members are rockstars in the tech-ed world and do a wonderful job of preparing students for their ultimate careers. Be it worship sound, concerts, recording, broadcast, education, film sound, game sound or any other aspect of professional audio and production, the field is wide open to those who possess a solid work ethic, act with integrity, are problem-solvers and put their employers’ needs above their own. Clearly it takes more than technical prowess to rise to the top, but I am confident that if students will keep their eyes & ears open, apply themselves and take advantage of all the opportunities CRAS presents, CRAS can help students craft the solid foundation on which to build successful careers. I wholeheartedly recommend CRAS.”
“M&K is proud to be featured in your surround classroom, Studio D. Having your students exposed to high end gear such as M&K better prepares them for employment once they graduate, I’m look forward to continuing our relationship.”
“Alesis is very happy to be part of the curriculum at CRAS. Thank you for letting us be a part of the growth of such a large and promising group of up-and-coming audio professionals.”
“We are extremely impressed with the quality of the graduates coming out of CRAS. Their strengths in critical knowledge areas such as signal flow and problem solving really makes a difference in the real world. Even when faced with learning a new console, such as the two AWS948s that the Conservatory installed recently, the students were not intimidated. They went back to their basics, and figured it out. We are extremely happy to have a relationship with the Conservatory of Recording Arts and Sciences, and look forward to being a partner in helping to enable the next generation of engineers.”
“We are very excited to be a part of the wonderful work being done at CRAS.”
“We’re pleased that A-T mics play a role in the education/career development of the next generation of audio professionals.”
“It’s exciting to partner with an educator like CRAS. We see how important it is to connect creative audio and video students with the same products used to create the world’s biggest productions. We at iZotope are thrilled to work with a forward thinking educator like CRAS and look to enable creatives at the intersection of art and education.”
“Education has always held an important place in the Audiokinetic mission. So we are very proud of our association with CRAS, which has consistently demonstrated leadership and outstanding professionalism. We want to thank CRAS for its ongoing efforts to develop the next generation of game audio professionals who will use Wwise in their future projects.”
“Sennheiser is proud to be associated with CRAS. Your dedication to the education and development of our future audio professionals is valuable not only to your students, but our entire industry. We look forward to a long-standing partnership and welcome new students to a life changing opportunity at CRAS.”
“CRAS has a reputation for providing its students with real-world skills using the latest in recording technologies. Holophone is proud to be a part of that. Surround sound is quickly making its way into every part of the audio industry and we look forward to a partnership which helps make that transition an easy one.”
“Every time I visit CRAS, I’m completely blown away by the high level of engagement shown by the students and the enthusiasm and professionalism of the faculty. It reminds me why I got into this industry in the first place.”
“RTS Intercoms is extremely impressed by what the Conservatory of Recording Arts has achieved and is geared up to achieve in the future. The investments done throughout the educational facilities are nothing short of astounding. CRAS’s investments in the latest and greatest technologies are sure to deliver a very real-world experience for their students. We are more than delighted to consider ourselves a partner with CRAS and are looking forward to help educate the future broadcasters of America.”
“CRAS is equipping students to perform in the audio industry with the highest degree of professionalism, confidence, and success attainable. Keep up the great work!”